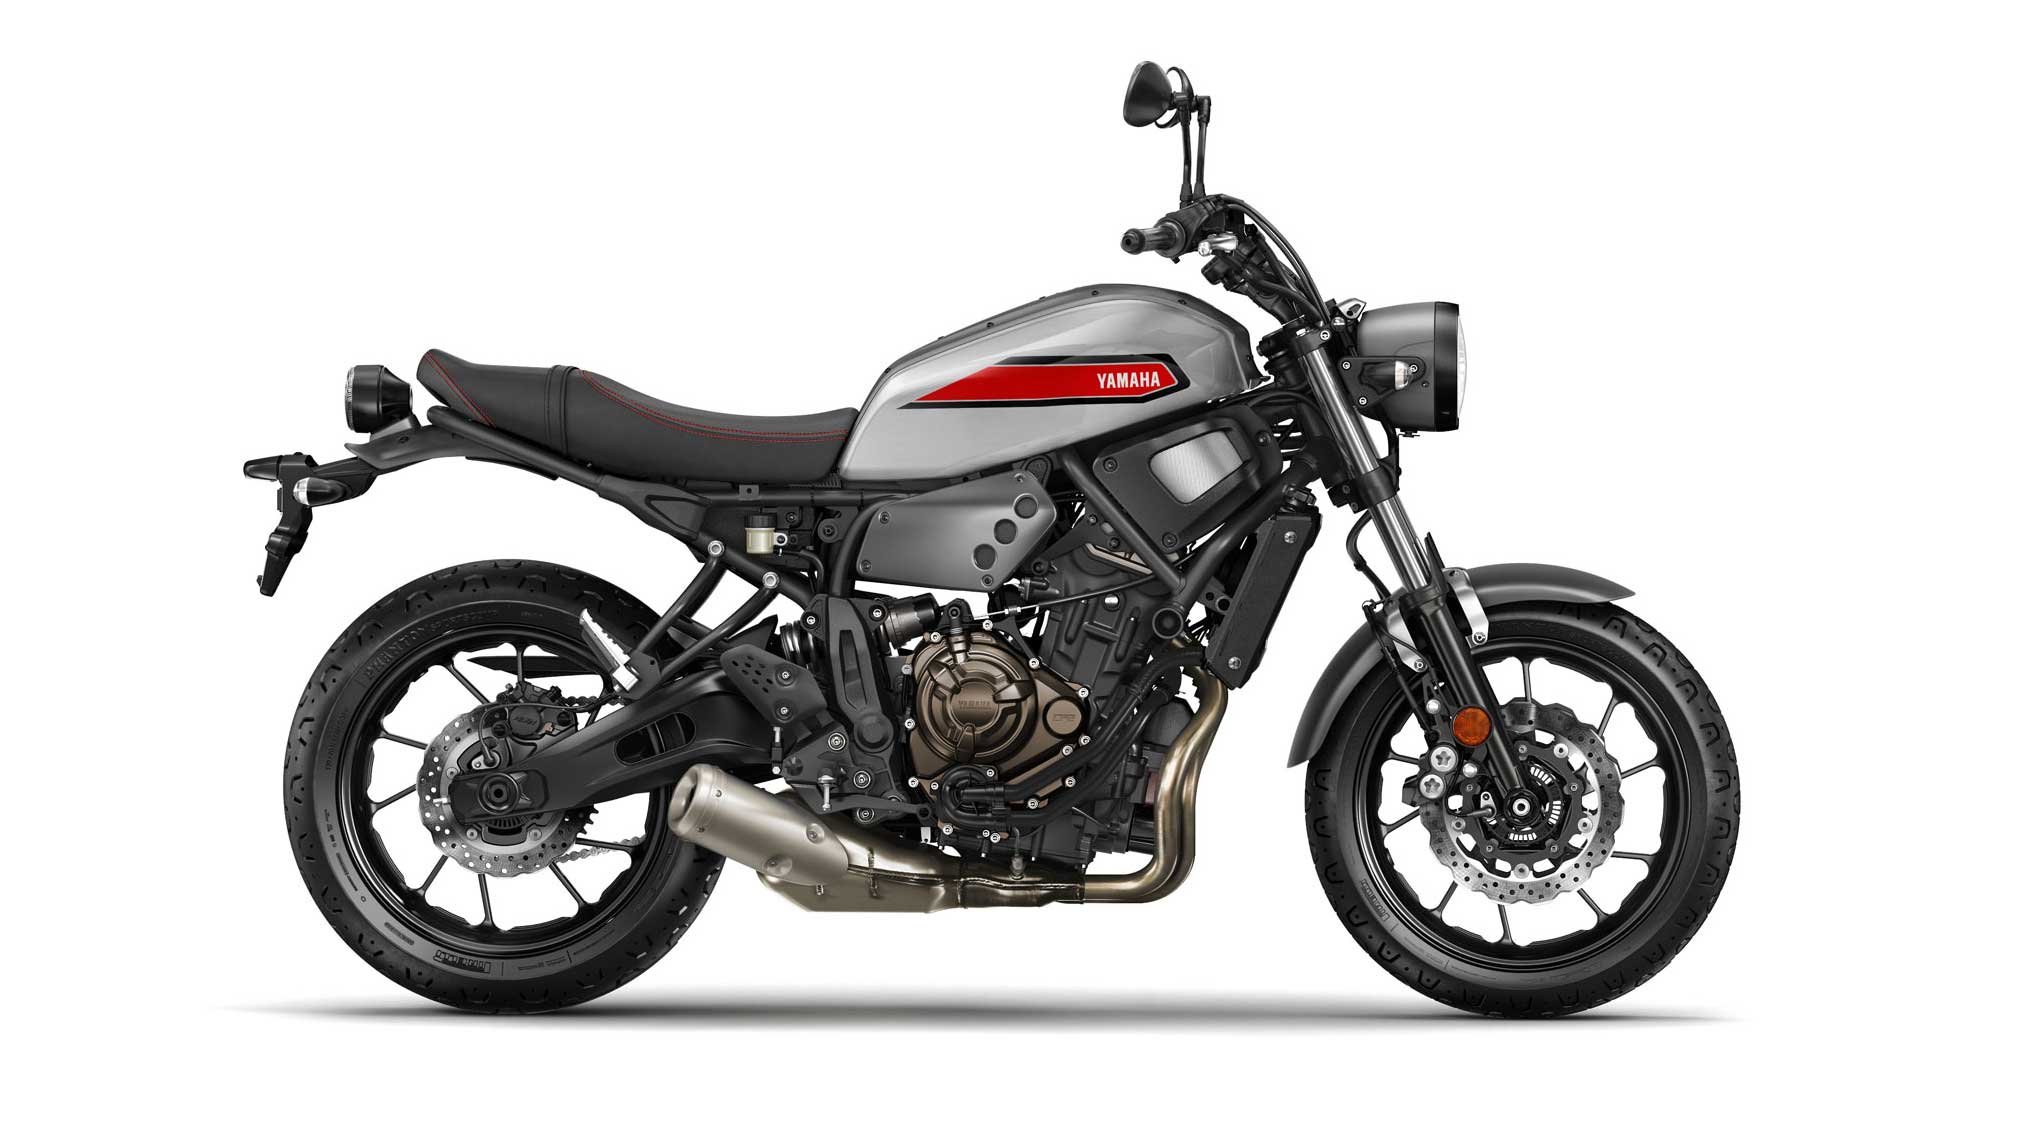
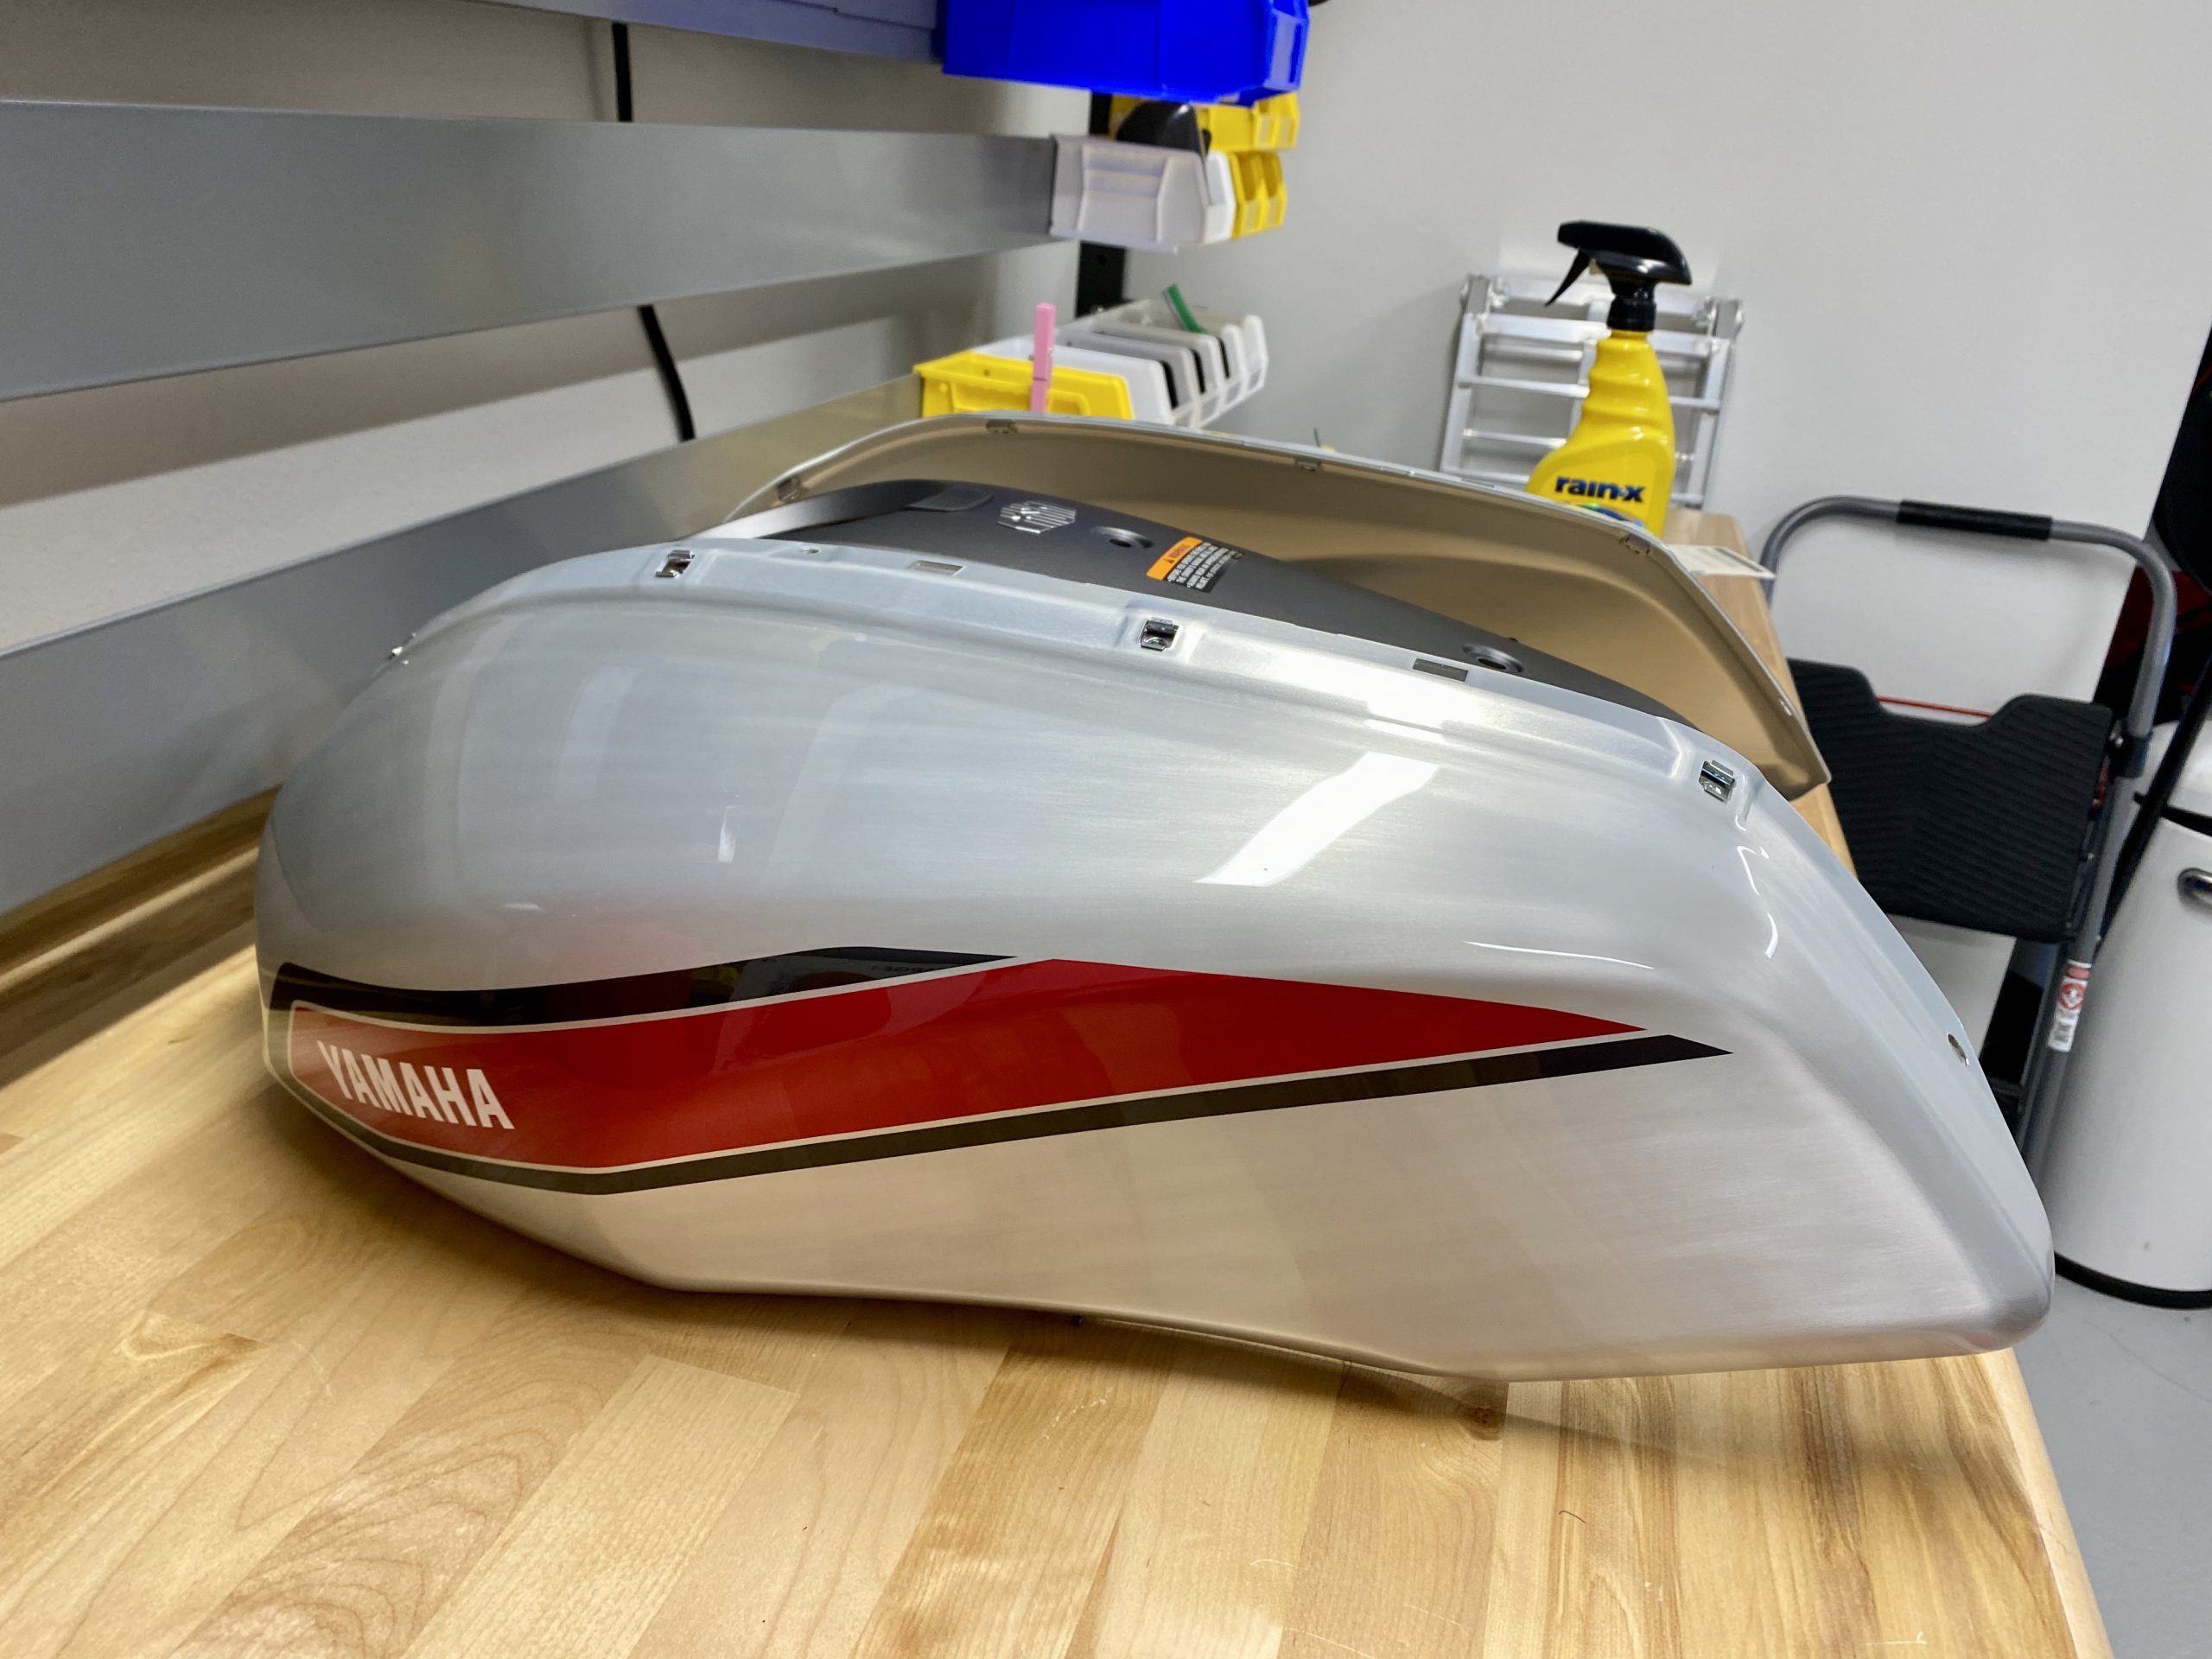
The desire to modify the bike, and do lightweight mechanic-ing, was a primary motivator for me. I was able to get a 20% discount on this bike – it was sitting in the showroom for several months and was part of the previous model-year release. The bike likely sat there because, frankly, it isn’t a looker.
When I started this, I wanted to learn how to paint a bike, understand the process, and see what I could accomplish in my garage.
Design ideation
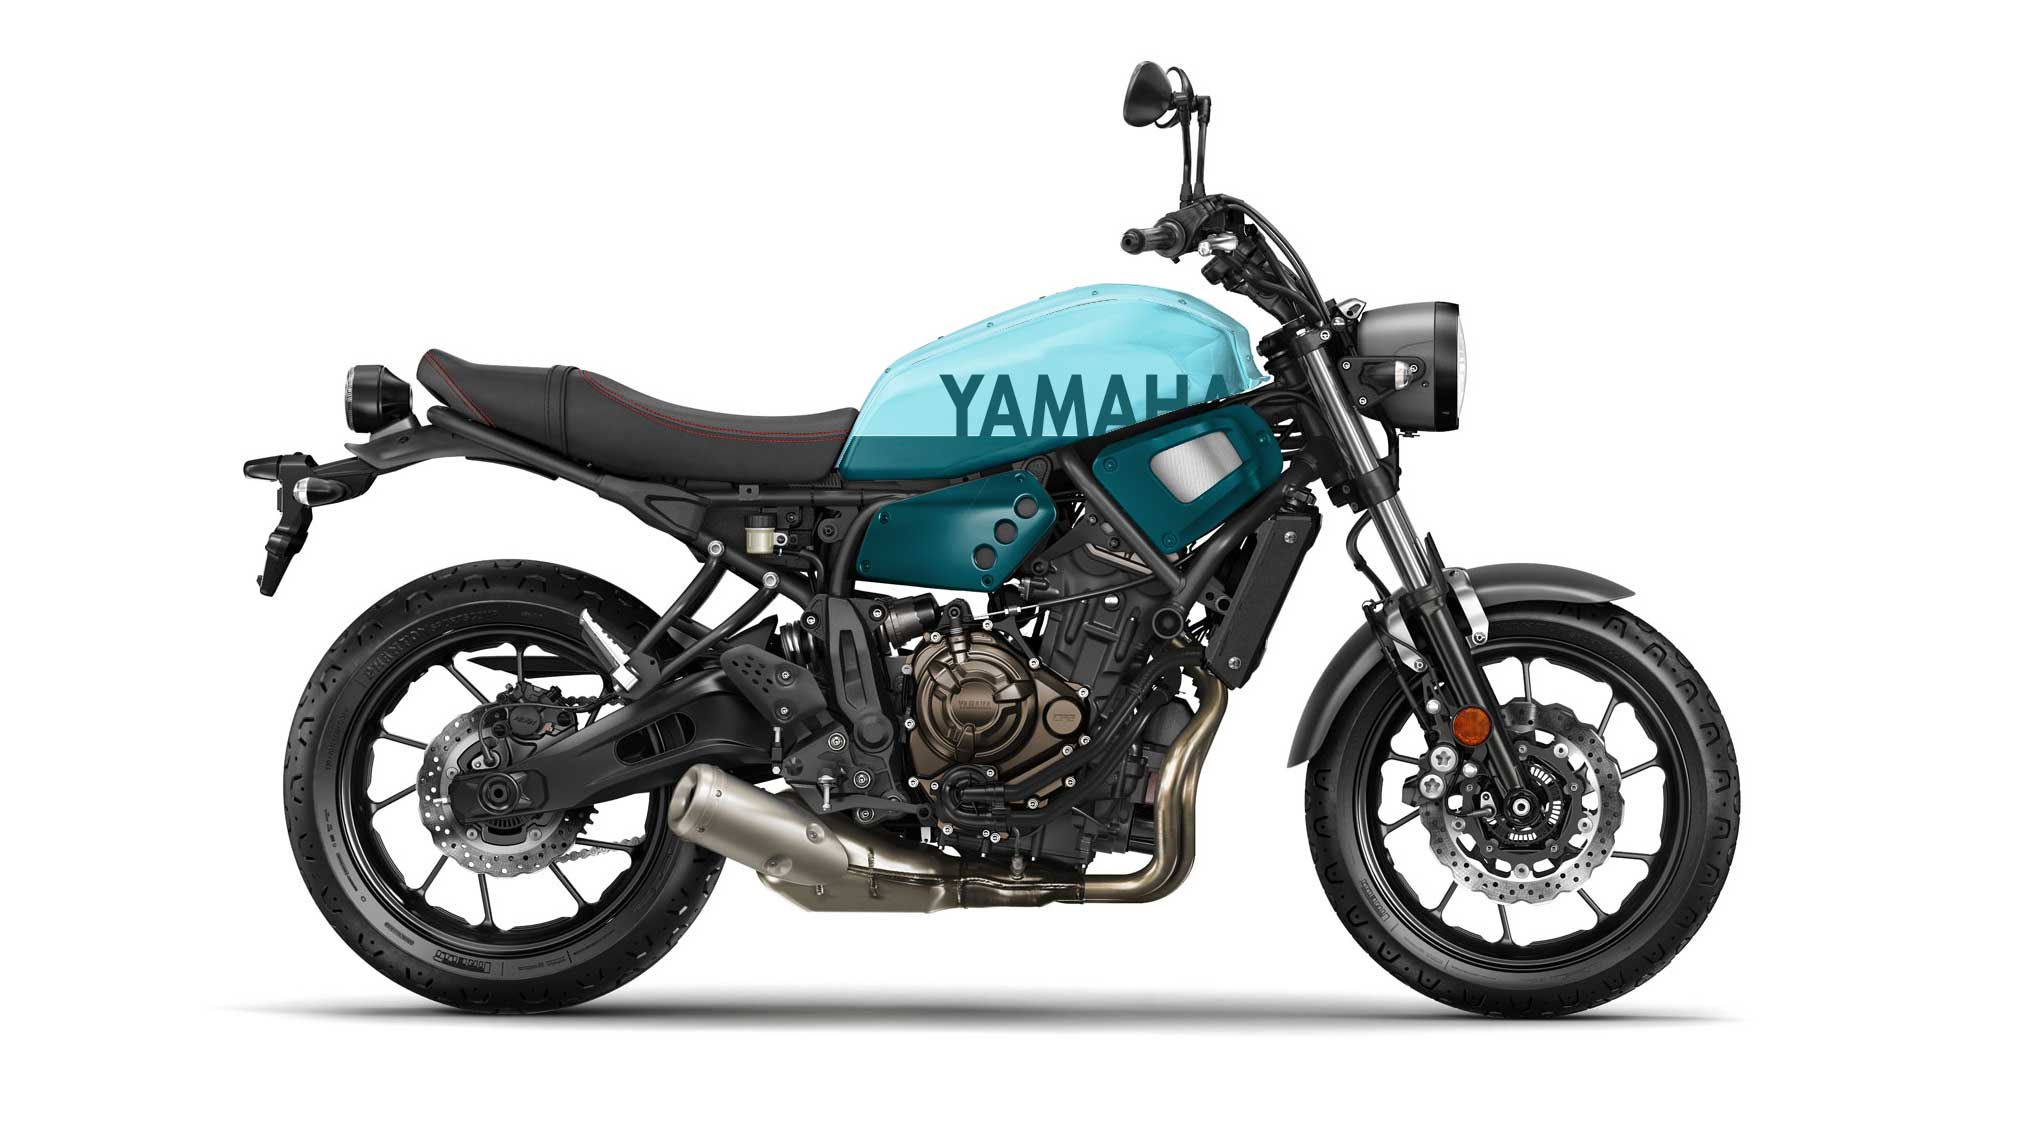
I started this by looking at colors and paint suppliers. My earlier work on Colour Assignment as stuck with me through the years.
After watching a bunch of great Youtube videos, I decided to use Montana-Cans paint. Specifically the Montana Gold Spray Paing 400ml. For the specific colors, I decided to go with a selection of blue/greens plus an Easter yellow. In my mind, it’s a cross between the Life Aquatic and the water in the Pacific Northwest.


Painting prep
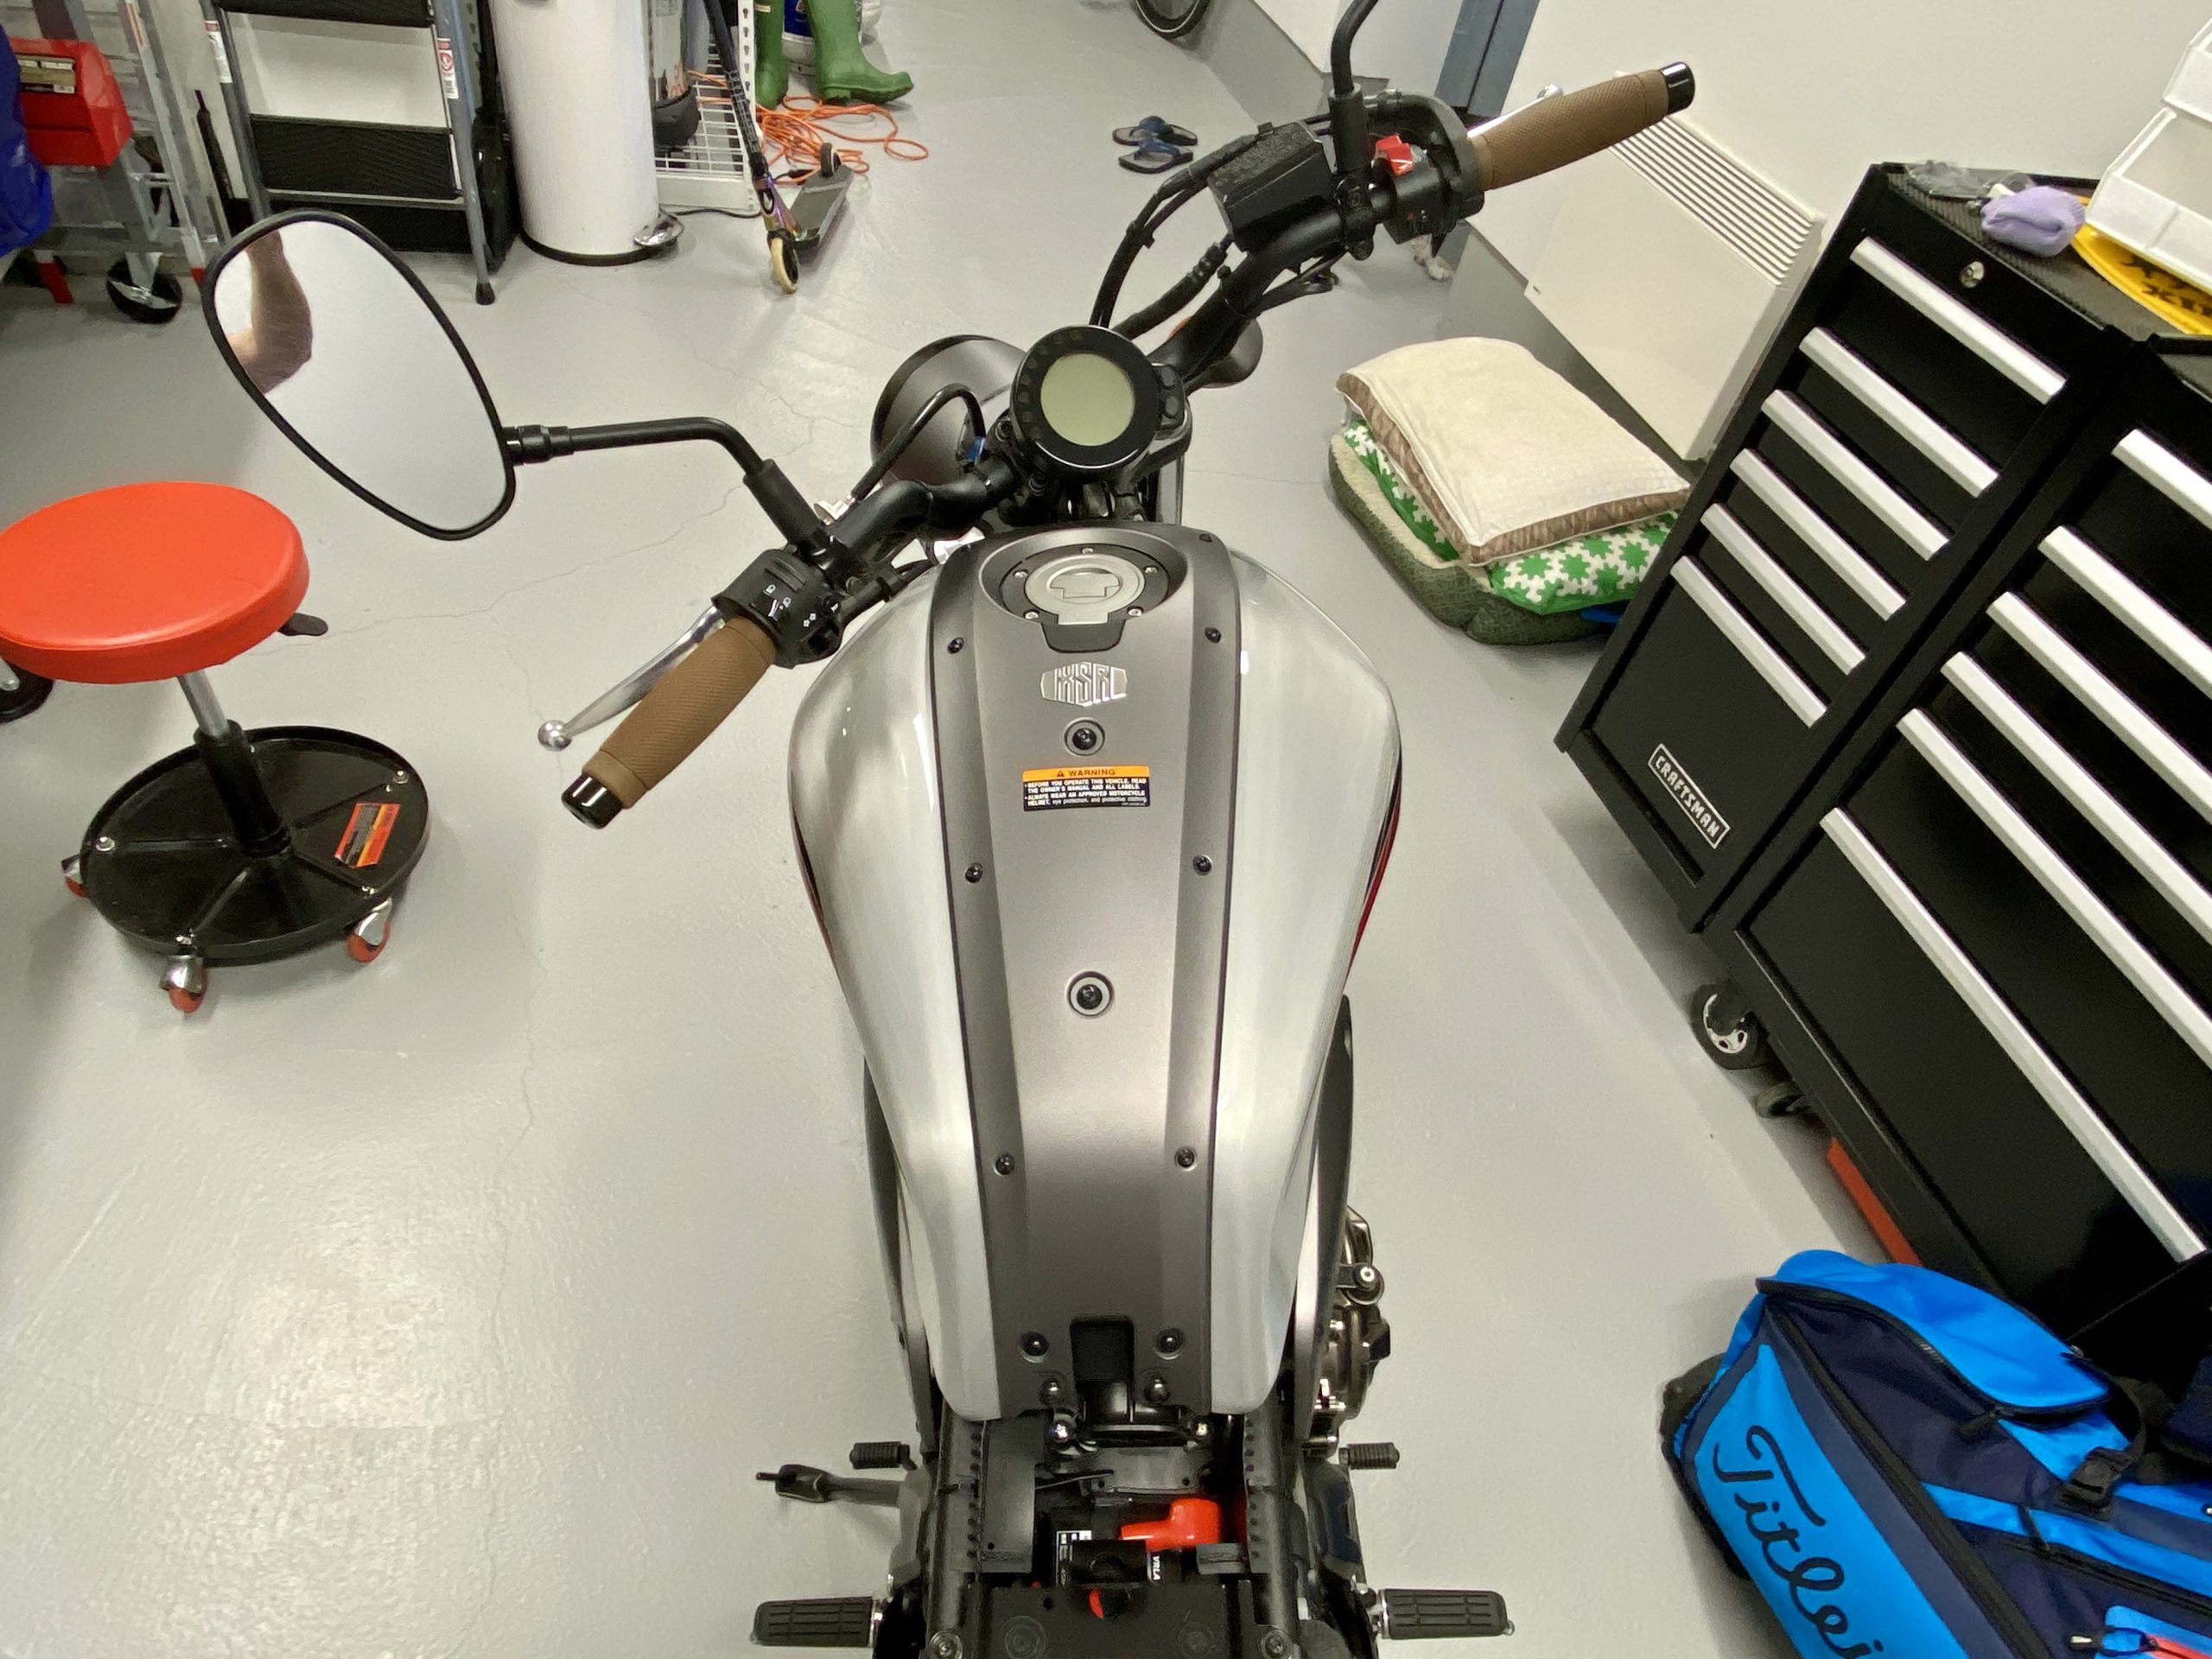
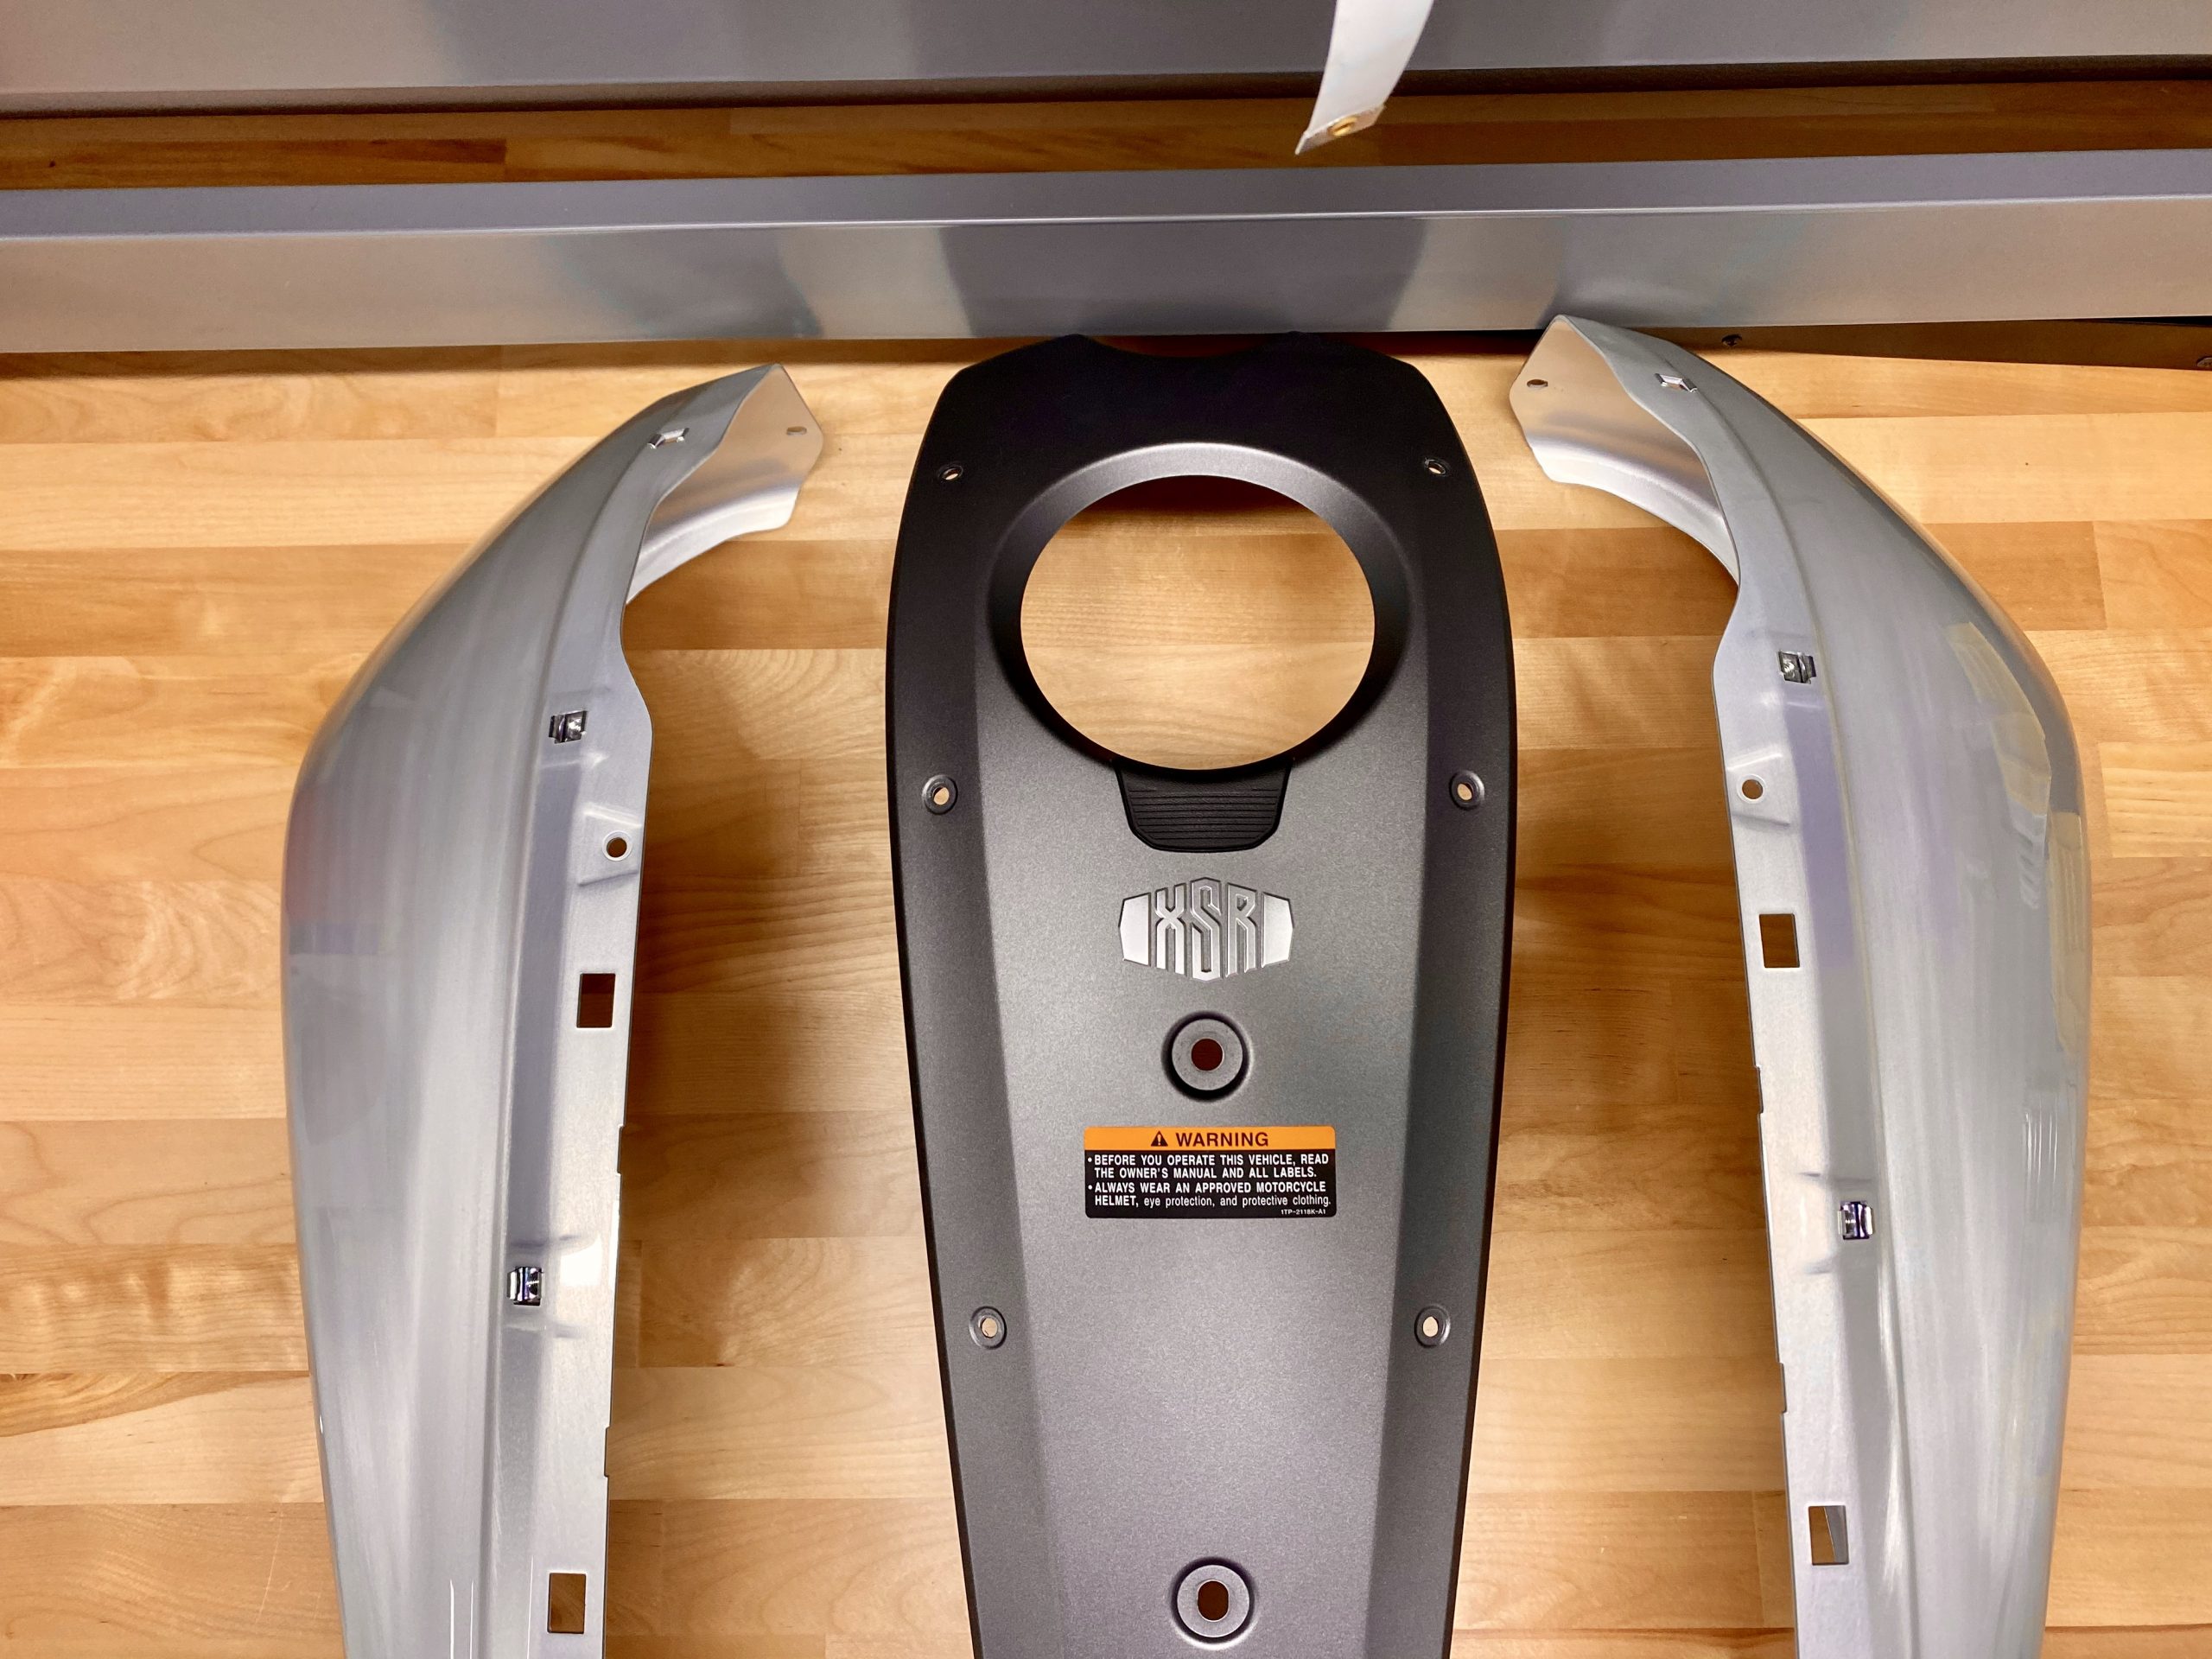
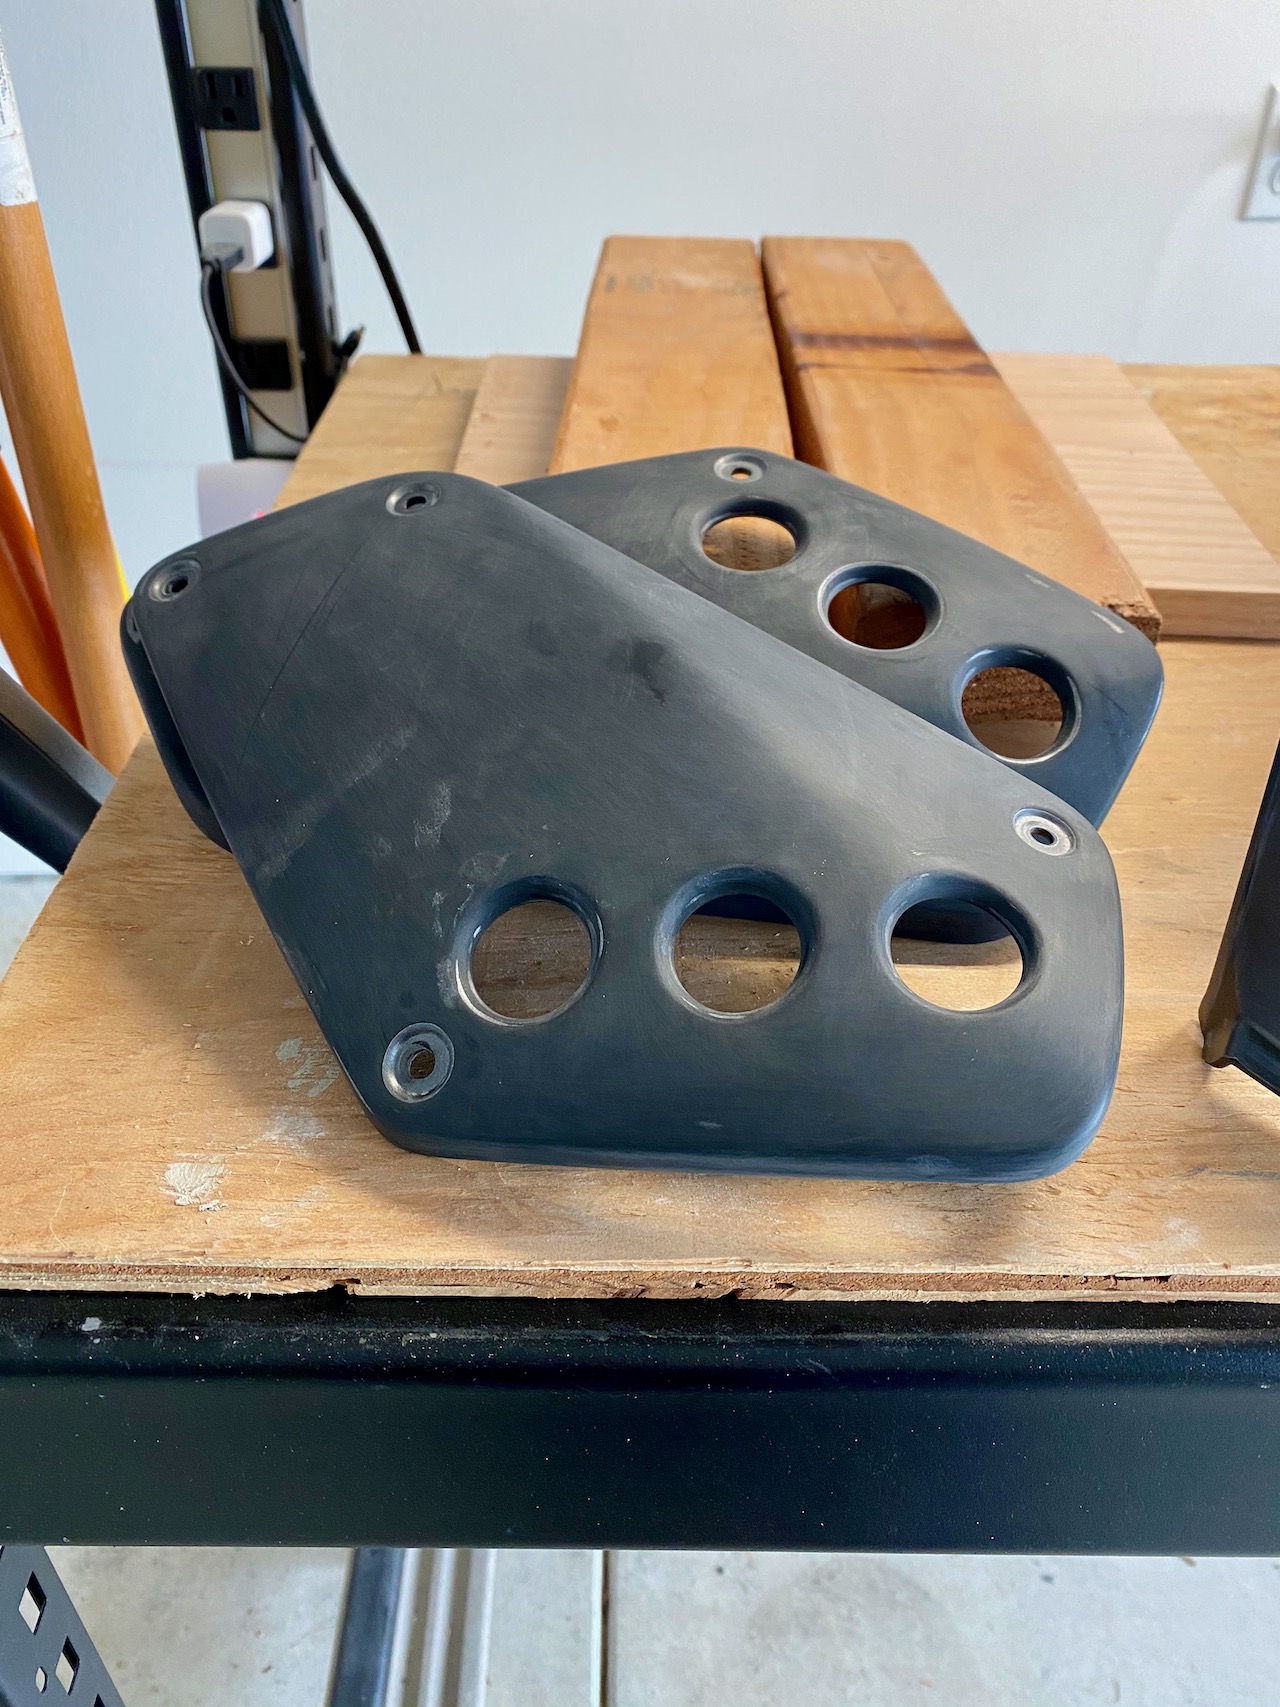
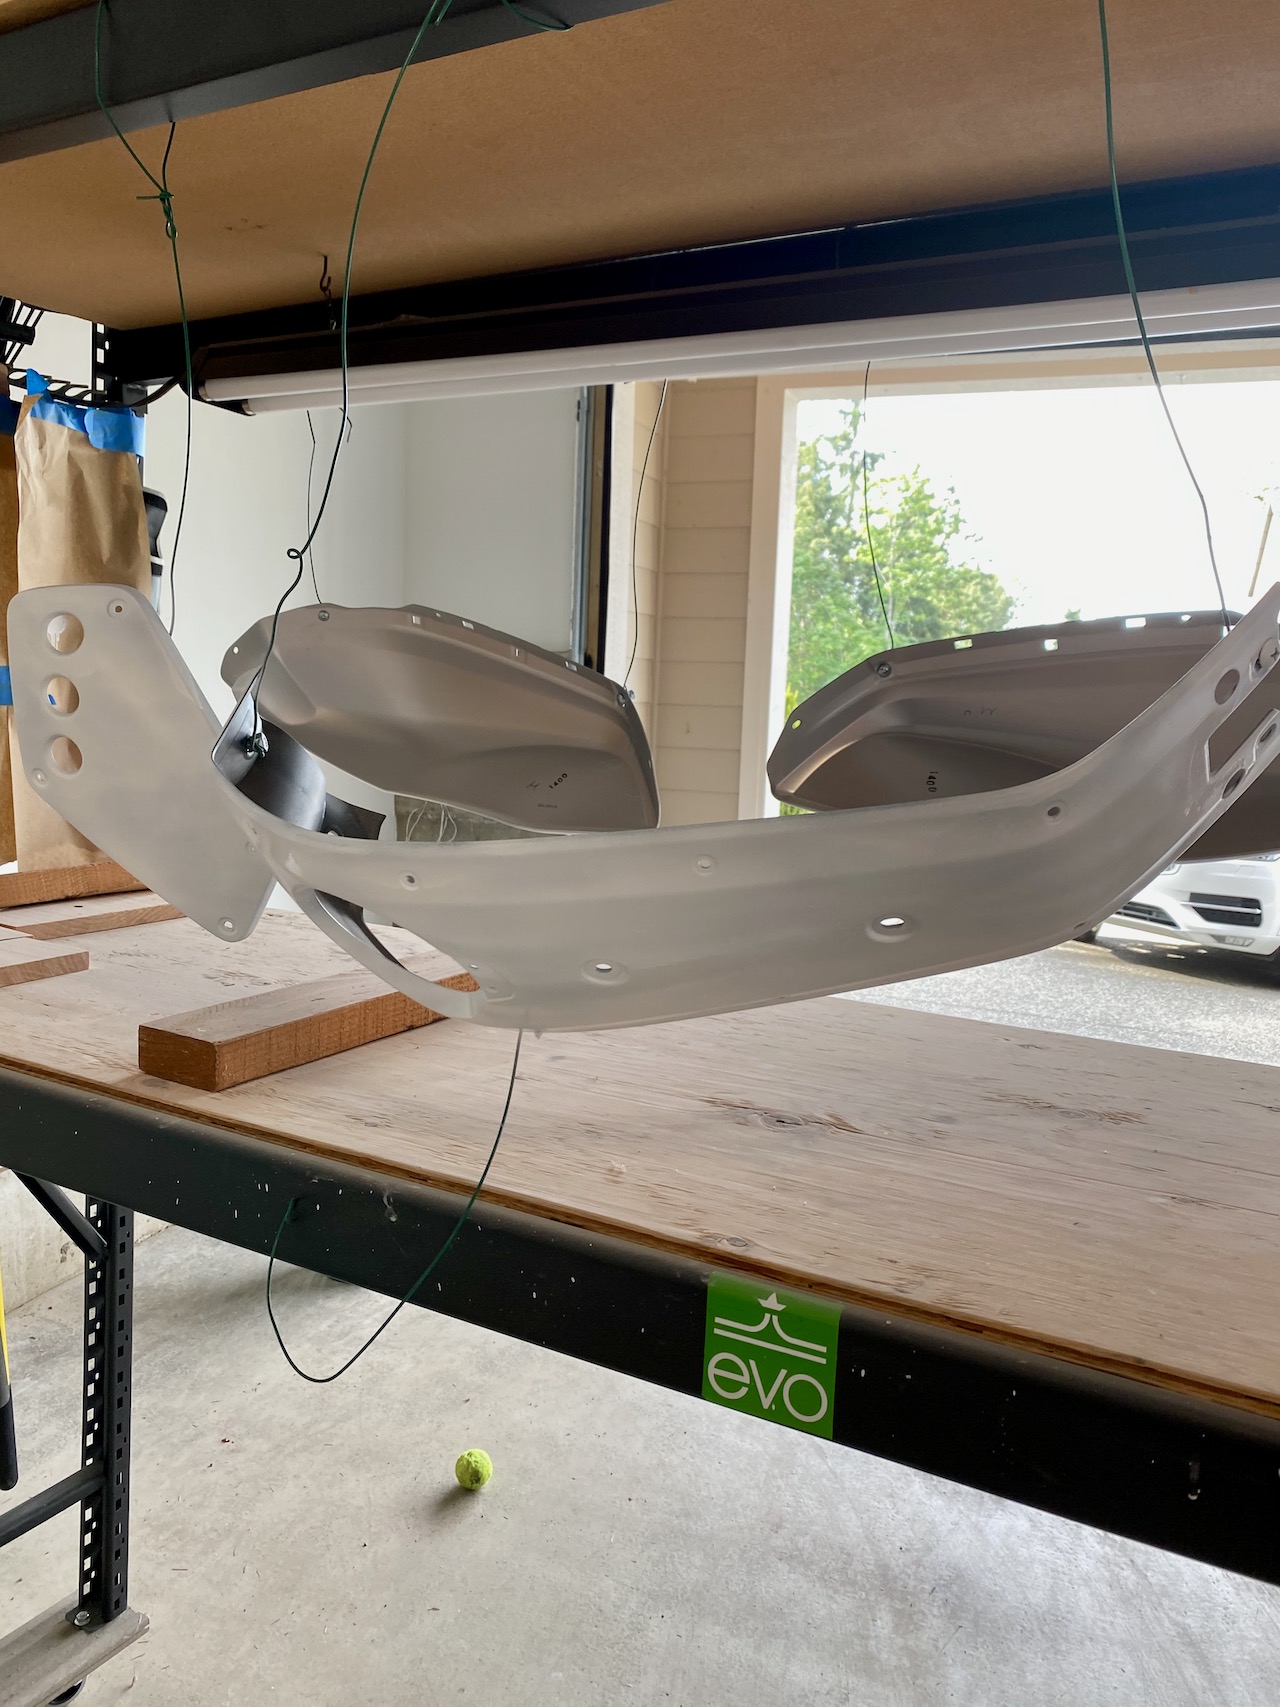
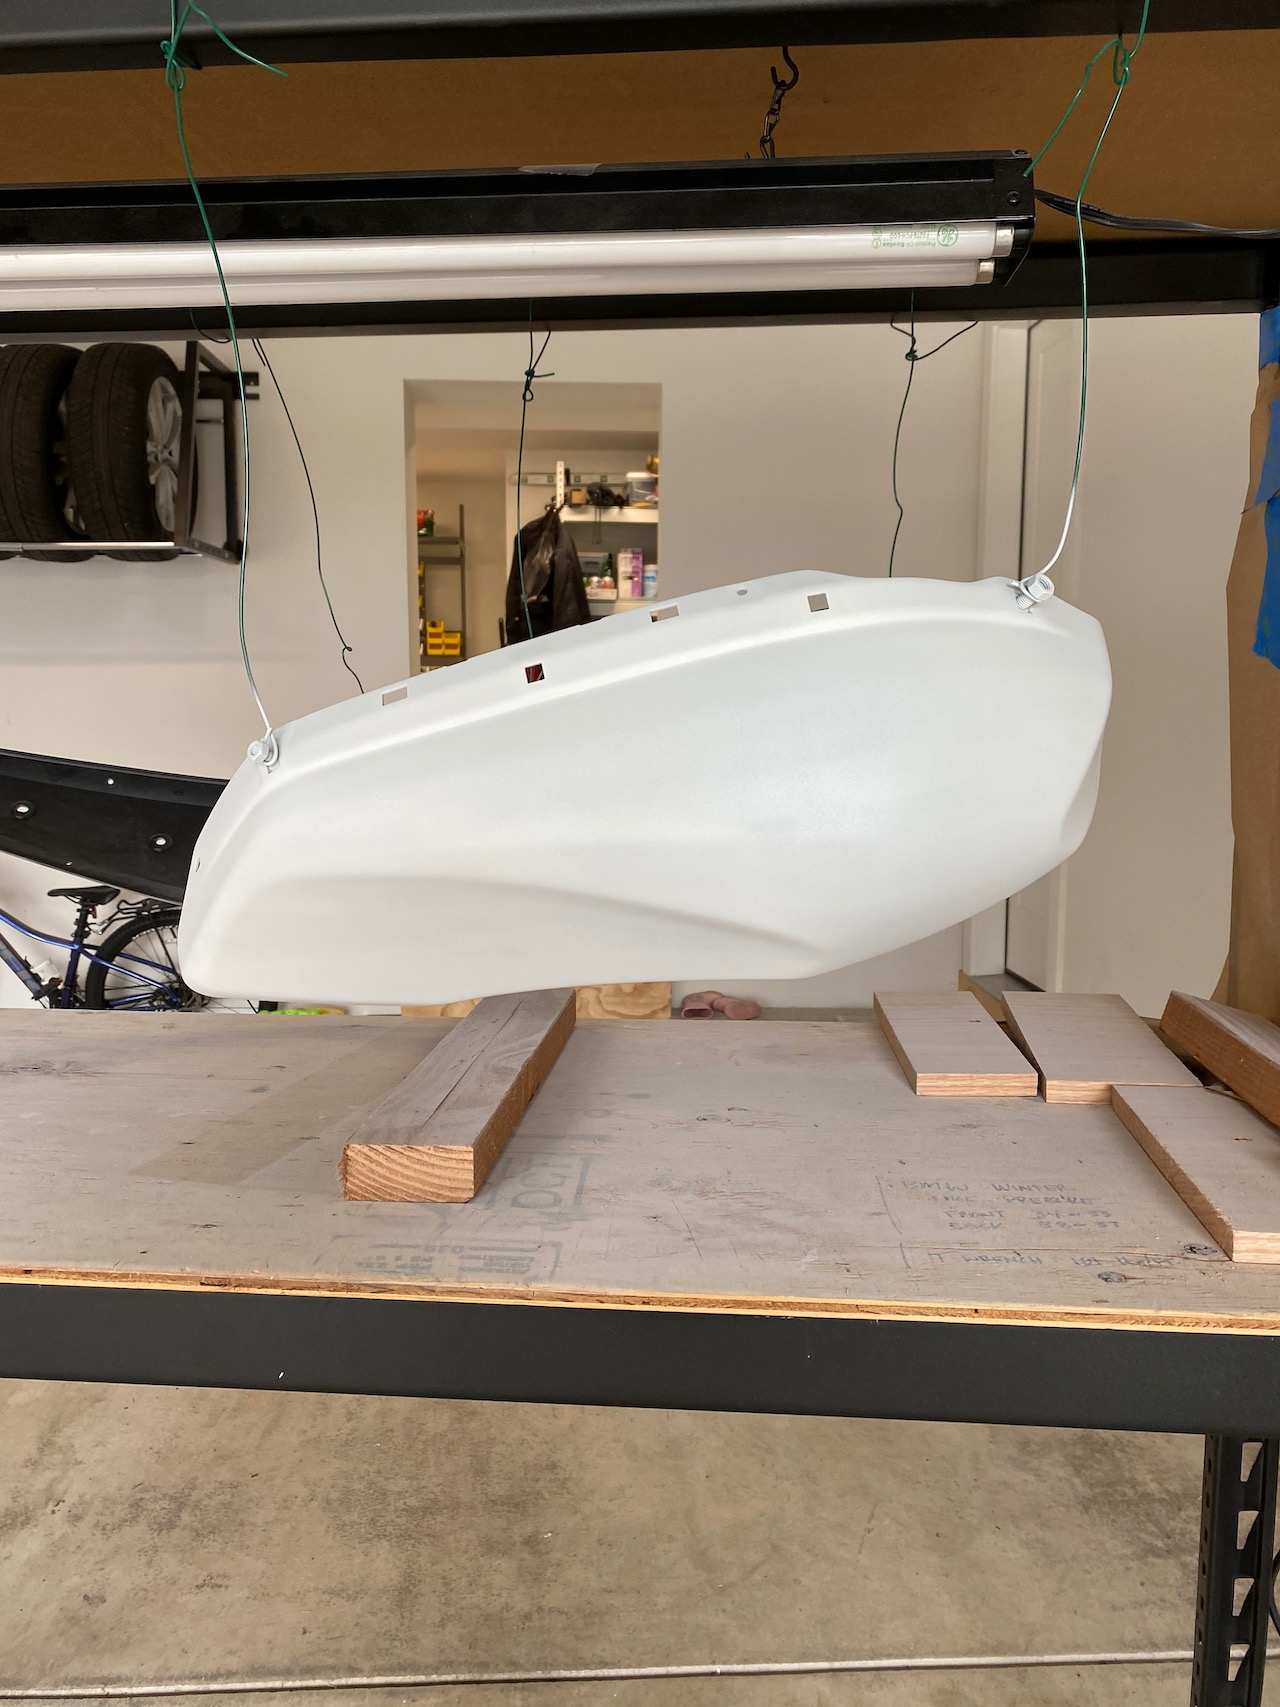
The XSR700 fuel tank and body fairings are easy to remove. I started by dissembling and then started to the wet sanding process.
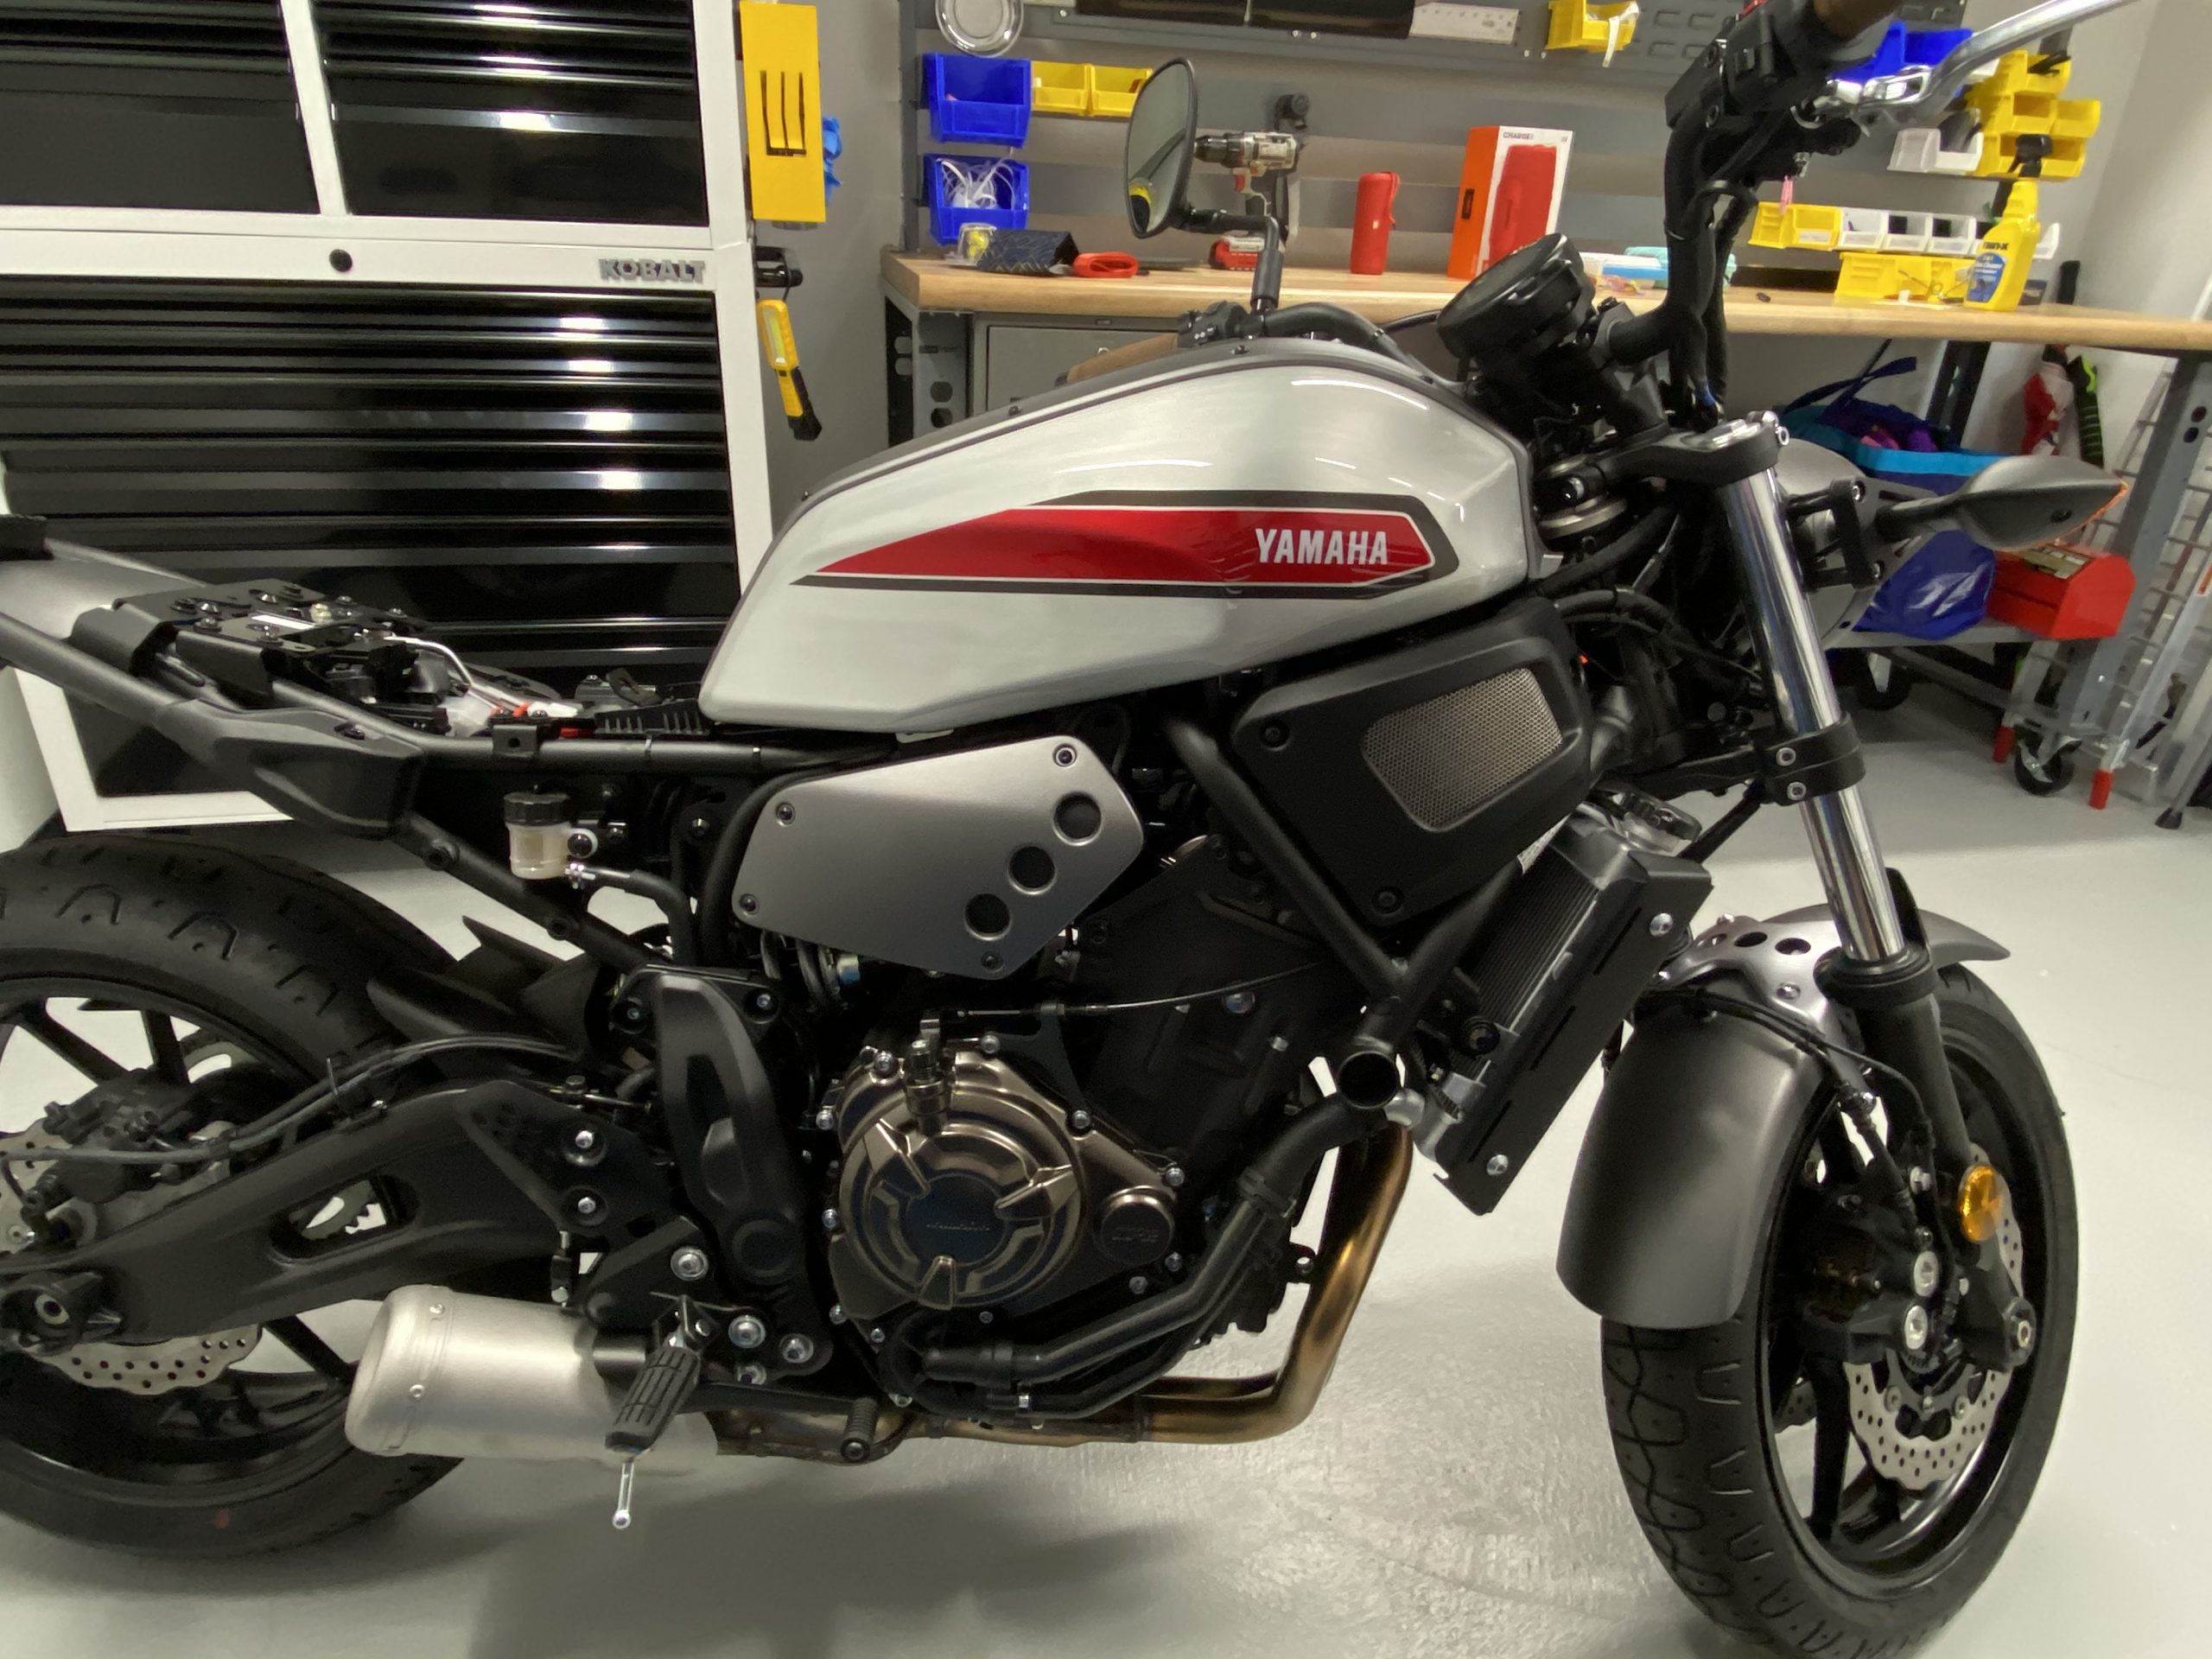

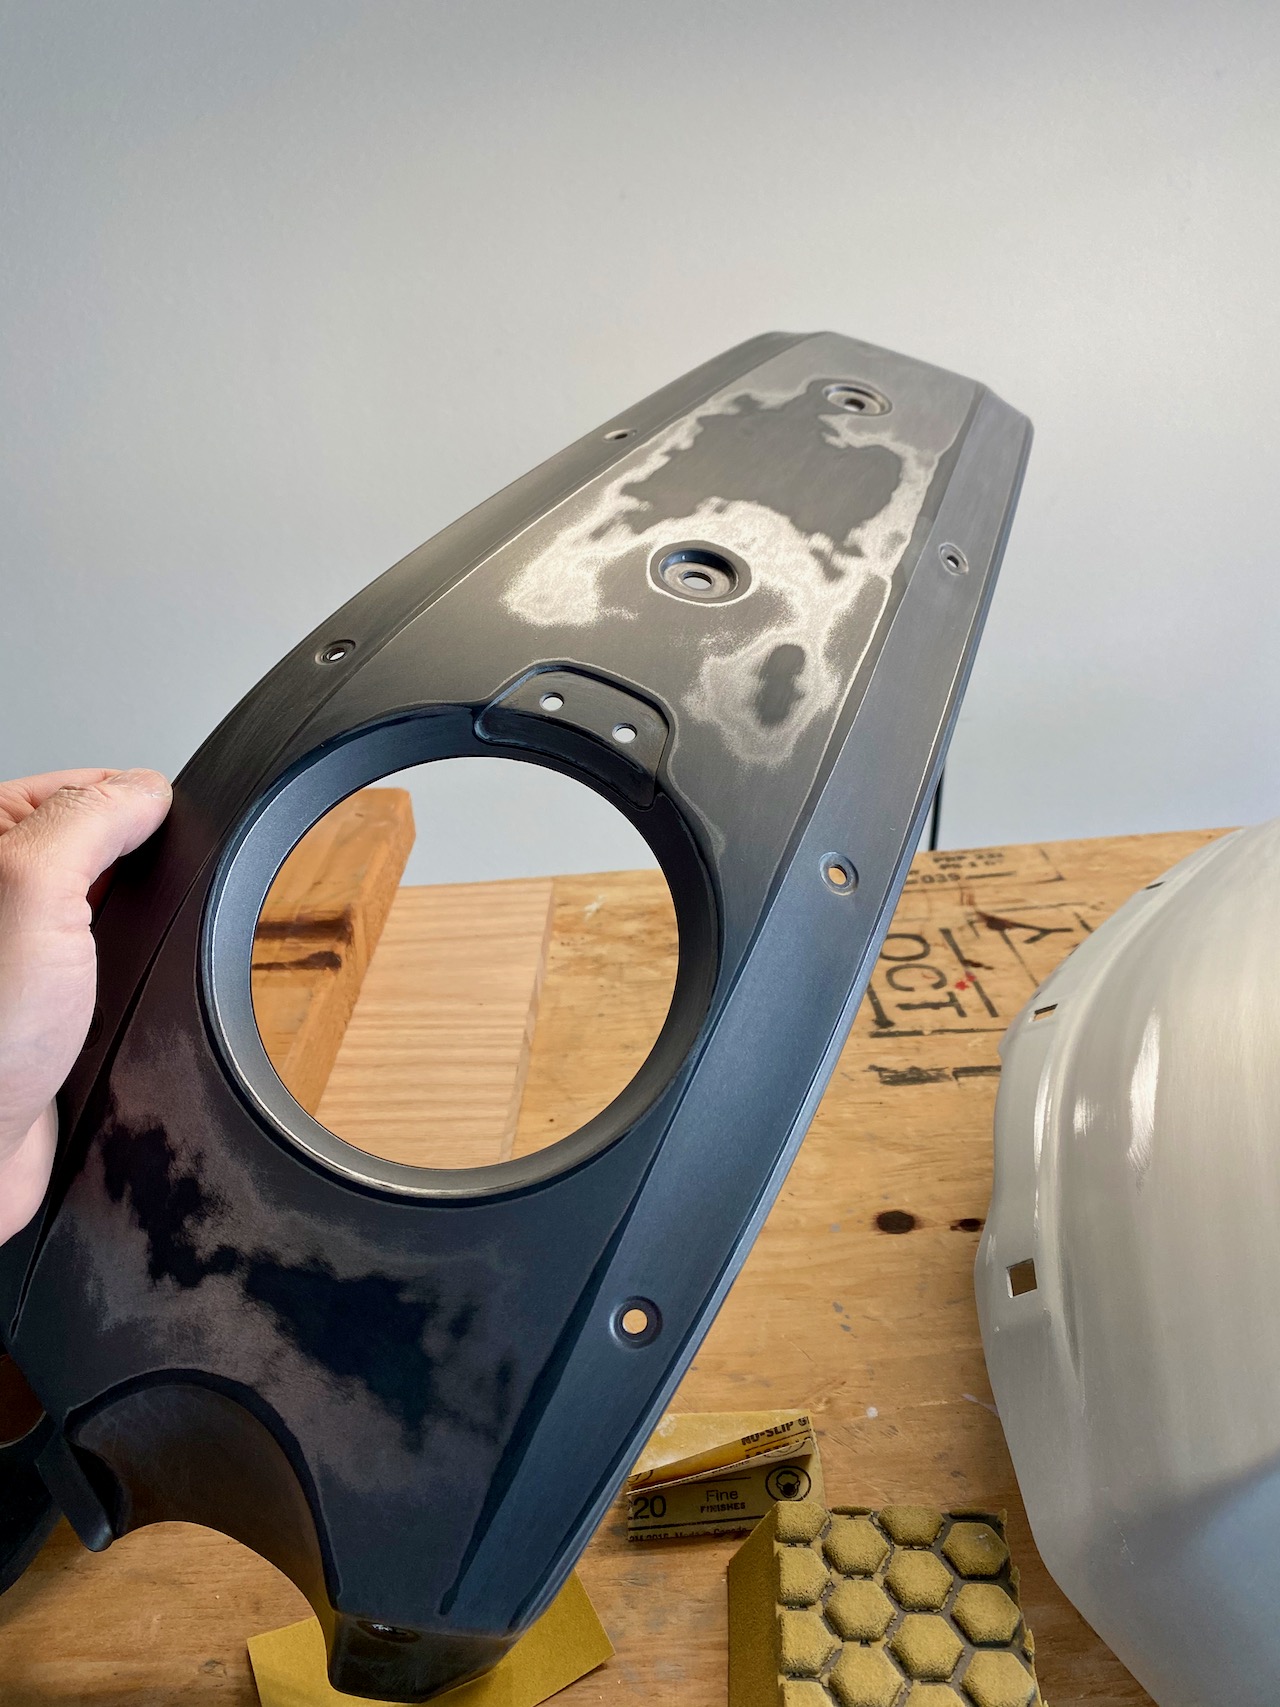
Wet sanding is straightforward. The learning moment for me was in understanding how effective the various grit ratings worked. I started with a 400-grit and quickly realized that I needed something more course. I moved to 200-grit – this change made the process go faster while keeping the surface smooth.
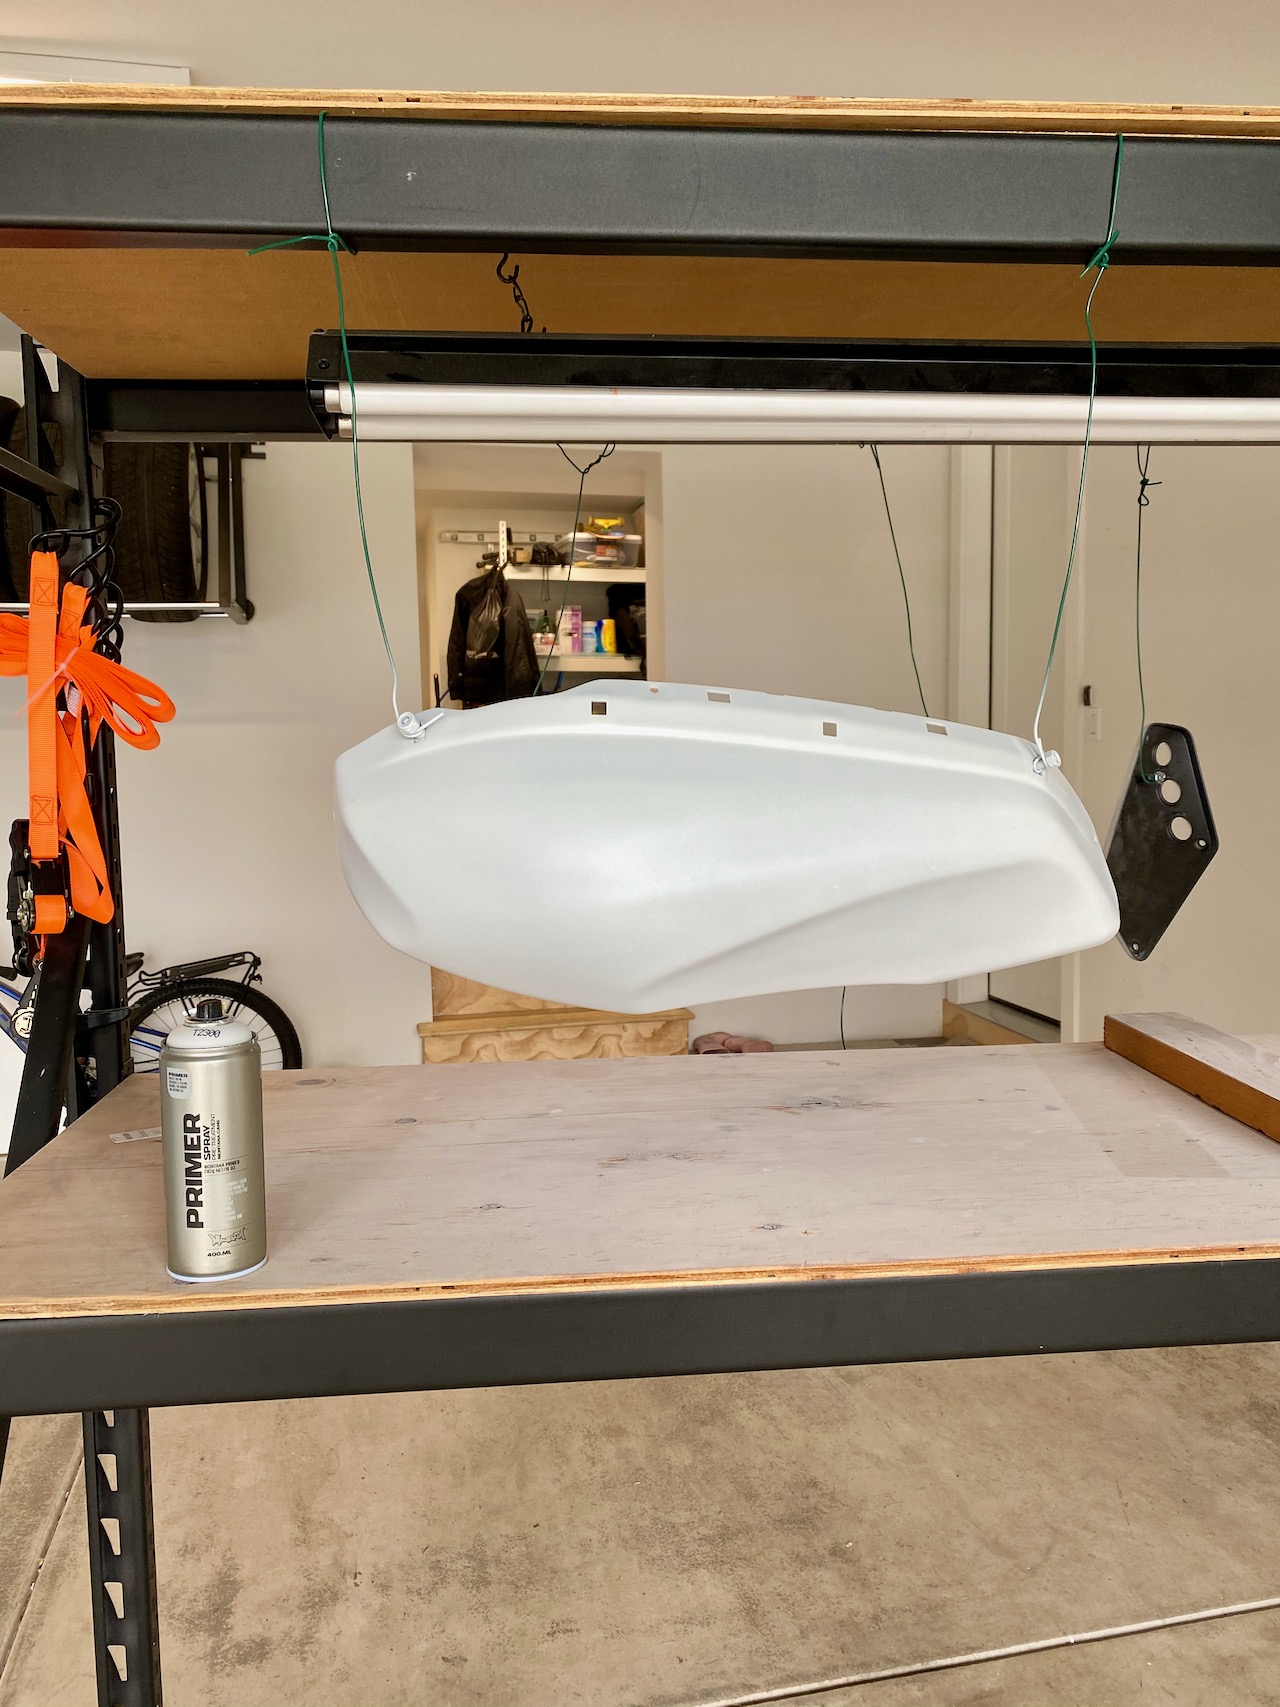
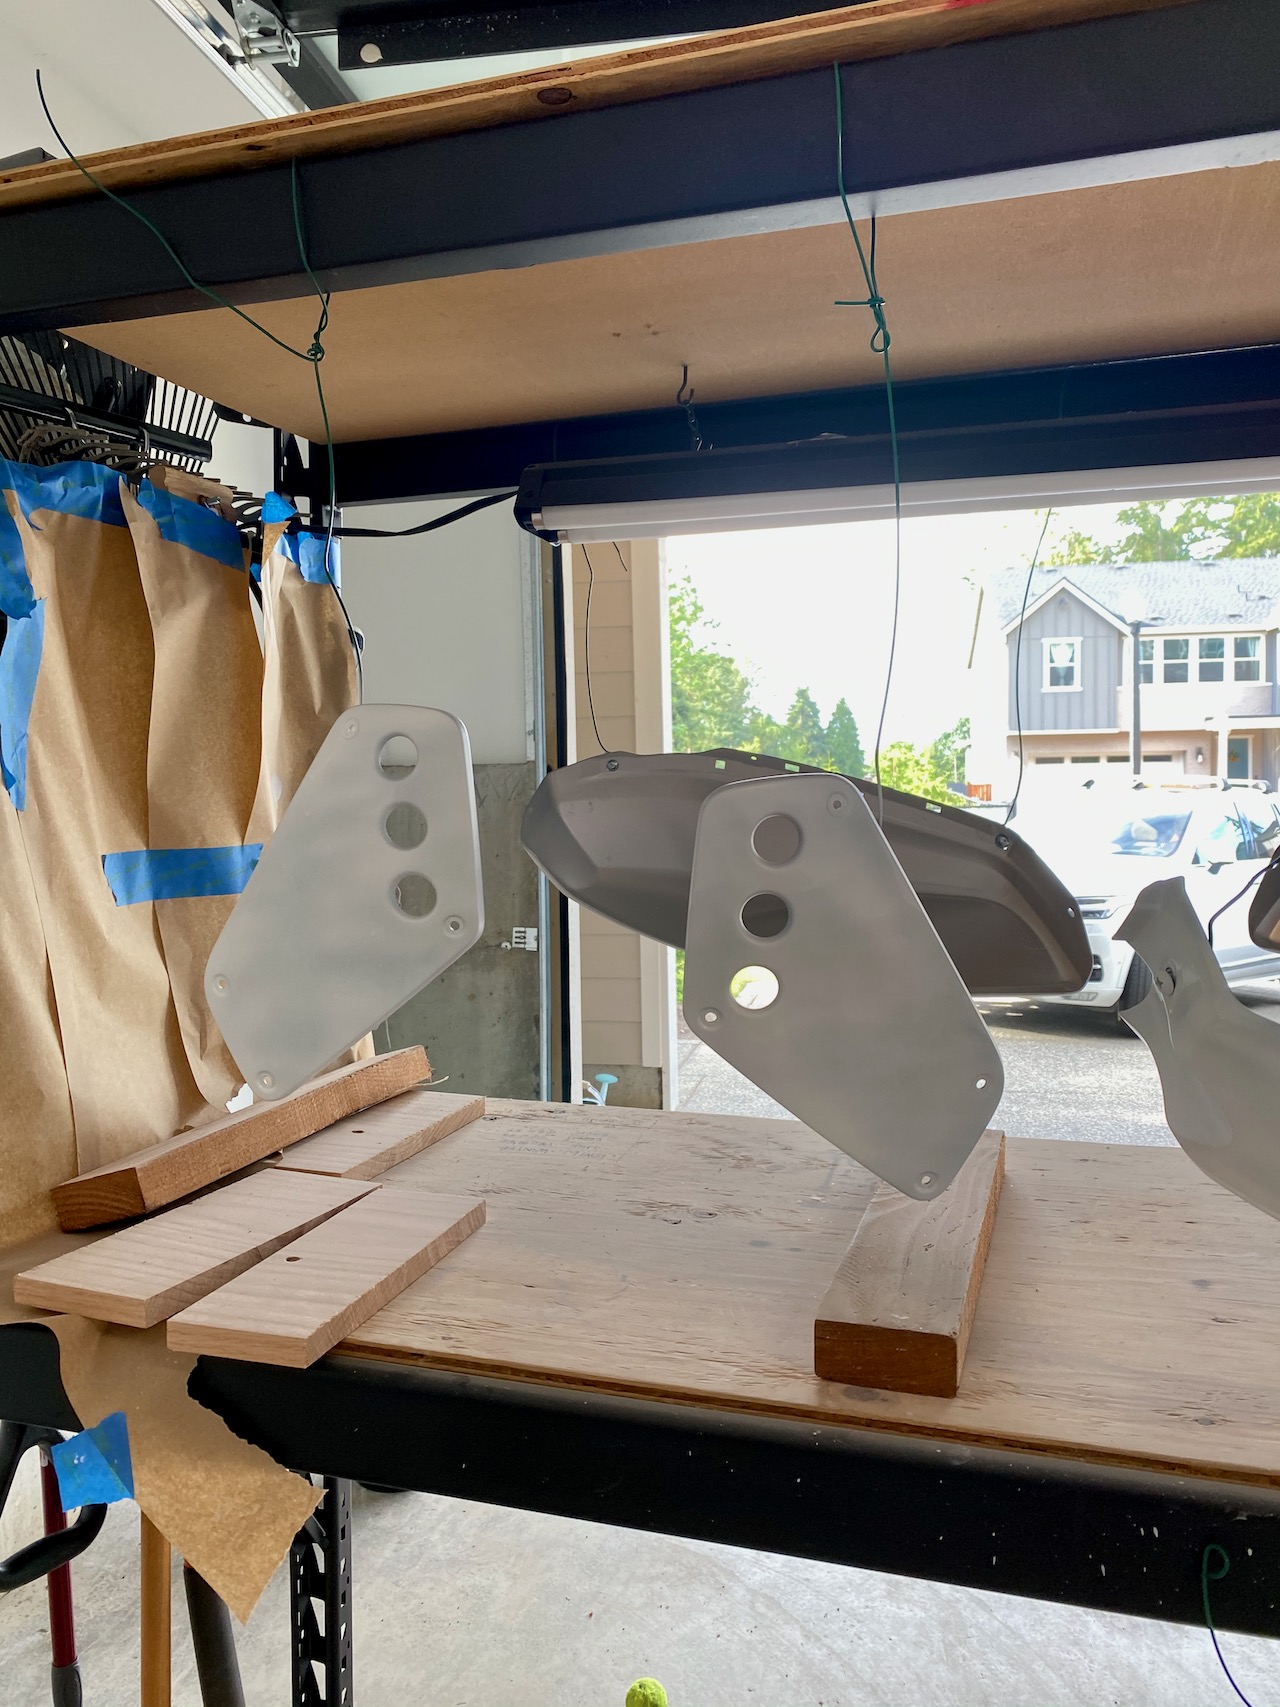
After sanding, I used two different primer paints to prepare the parts for paint. Montana Cans sells a primmer specifically for plastics – this provided a great surface for the paint to stick. I used a universal primer for the aluminum parts.


Leave A Comment